for the home
arrange in a compote using a pin frog
april 2023
Pin frogs are our new best friend, so we’re wasting no time in sharing them with you! Pin frogs, also known as flower frogs, are a circular metal mechanic that sits in the bottom of your vessel, with vertical pins that keep the stems in place. They are sustainable, durable, and lend themselves to a variety of arrangements. Here is our 10-step visual guide to arranging with them. A flower-forward, artful arrangement is the goal, and a growing, creative experience is guaranteed.
For the whimsical, line-loving arrangers.
what you’ll need
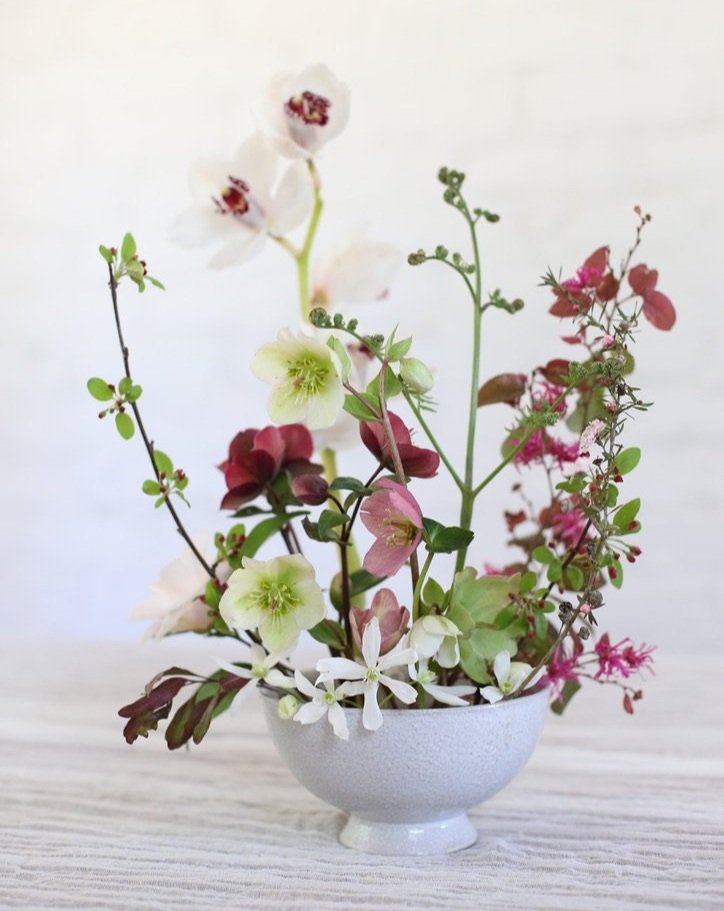
Choose what you love, but focus on finding varieties with long stems, pretty curves, and an airy feel. Make sure some have structured stems that will stand tall on their own. We used hellebore, cymbidium orchid, crab apple, clematis, bracken fern, loropetalum, and leptospermum.
Flowers & Greenery
The beauty of this set-up is in the simplicity. It may take an initial investment, but we promise you’ll use these materials over and over!
– Compote or urn
– Pin frog
– Floral putty
– Water
Hard goods

10 steps! let’s get started.
step one
Attach a small ball of putty to the bottom of the pin frog.

step two
Firmly press pin frog with putty into center of compote.

step three

Fill compote about 3/4 with water.
step four
Add the first stem! Choose your favorite flower with a pretty curve to act as the first focal flower.

Add another stem, this time a smaller and more delicate bloom. Place it across from the first stem, and play with the curves to eventually find an orientation that suits your eye.
step five

Complete the initial triangle of stems with a third variety. Vary the heights. These stems will provide the foundation of your design!
step six

Do another tall layer of stems, using your triangle as a guide. Work to complete your overall shape: the outer curves and upper lines. Begin repeating varieties to create cohesion within your design.
step seven

Now, fill in the lower layer. Continue to match the curves, play with textures, and fill in visual gaps while maintaining an airy feel.
step eight

Add the finishing touches. Using small bits of blooms and greenery, obscure the rim of your vessel and fill out the very bottom of your arrangment.
step nine

step ten
Enjoy and care for your design! Change the water every 3 days, and remove/ replace stems as necessary.

read more

how to arrange a bouquet with grocery store flowers

essential tools for arranging

candles at your event